
Installing a commercial hand dryer might seem straightforward, but proper setup ensures good performance and longevity. Whether it's a wall mounted hand dryer for a busy restaurant restroom or an auto hand dryer for a corporate office, following the correct installation process prevents common issues like weak airflow, excessive noise, or premature wear.
Pre-Installation Planning
Before mounting any air hand dryer, facility managers should consider several key factors. Location is crucial—the unit should be placed at ADA-compliant heights (typically 38-44 inches from floor to activation area) and positioned where water splashes won't reach electrical components. For wall mounted hand dryer installations, contractors must verify:
- Wall material (concrete, tile, or drywall require different mounting hardware)
- Proximity to electrical wiring (most auto hand dryer models need 110-120V circuits)
- Clearance space (maintain at least 12 inches around the unit for proper airflow)
Commercial-grade air hand dryer units often weigh 8-15 pounds, so sturdy mounting is essential.
Step-by-Step Installation
1. Power Preparation
Shut off power at the circuit breaker before beginning any auto hand dryer installation. For new constructions, electricians typically run dedicated 20-amp circuits to accommodate high-powered air hand dryer units (1800-2200 watts). Retrofitting existing locations may require adding a GFCI outlet within 3 feet of the planned wall mounted hand dryer position.
2. Template Marking
Use the manufacturer's template to mark:
- Mounting screw locations
- Electrical knockout openings
- Sensor alignment points (for auto hand dryer models)
Premium air hand dryer units often include laser levels in their installation kits for good alignment.
3. Secure Mounting
For concrete/tile walls:
- Drill pilot holes with masonry bits
- Insert plastic anchors before screws
For drywall:
- Use toggle bolts or molly bolts
- Consider backer boards for heavy wall mounted hand dryer units
4. Electrical Connection
Hardwired auto hand dryer installations require:
- Connecting black (hot), white (neutral), and green (ground) wires
- Securing with wire nuts and electrical tape
Plug-in air hand dryer models simply need outlet access within the mounted casing.
5. Final Assembly
After securing the wall mounted hand dryer body:
- Attach the front cover/drying nozzle
- Install optional HEPA filters if included
- Activate power and test sensor operation (for auto hand dryer units)
Post-Installation Considerations
New air hand dryer installations should include:
- 48-hour operational test period
- Staff training on proper use (especially for touchless auto hand dryer models)
- Placement of instructional decals at eye level
For facilities installing multiple wall mounted hand dryer units, consider staggered activation timing to prevent circuit overloads when many users dry hands simultaneously.
Common Installation Mistakes to Avoid
1. Improper Voltage - Some commercial air hand dryer models require 208-240V circuits
2. Incorrect Slope - Nozzles angled downward cause water to drip back onto hands
3. Rushed Sensor Calibration - Auto hand dryer sensors need 10-15 minutes to stabilize after power-on
4. Missing Backer Rods - Gaps between wall and wall mounted hand dryer invite moisture damage
Modern auto hand dryer installations have become more technician-friendly with:
- Color-coded wiring systems
- Tool-less filter access panels
- Bluetooth-enabled diagnostic modes
Whether installing a basic model in a school restroom or a premium auto hand dryer in a luxury hotel, following manufacturer specifications ensures years of reliable service. Proper installation not only extends equipment life but also improves the hygiene and efficiency benefits that modern air hand dryer technology provides.


 English
 中文简体
中文简体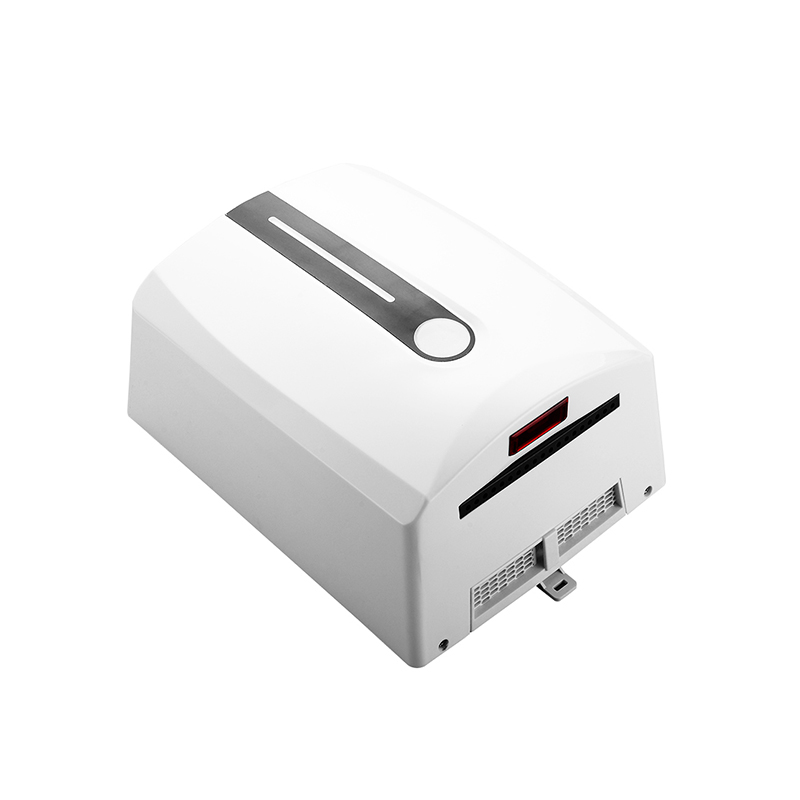


 Building 19, Block 9, Bihu Wangyang Town, Liandu District, Lishui City, Zhejiang Province, China